Water filter installation Denver is an important task that ensures your family has access to clean and safe drinking water. With various types of filters available, choosing the right one and installing it properly can be overwhelming. This comprehensive guide will walk you through the entire process, ensuring you make informed decisions and have peace of mind knowing your water is purified. Whether you’re looking for emergency water filter replacement Denver or planning a same-day installation, these steps will help you find the best local water filter experts in Denver to suit your needs.
Understanding Water Filters: Types and Purposes
Why Do You Need a Water Filter?
Before diving into the installation process, understanding why filters are essential is crucial. Water sources, especially those from municipal supplies, can contain various contaminants such as chlorine, heavy metals, bacteria, and other harmful substances. These impurities can affect the taste, odor, and overall quality of your water.
Types of Water Filters
Water filter installation Denver offers a wide array of options to cater to different needs:
- Carbon (Activated Carbon) Filters: Effective at removing chlorine, volatile organic compounds (VOCs), and improving taste and odor.
- Sediment Filters: Trap particles like sand, rust, and debris, ensuring clear water.
- Reverse Osmosis (RO) Systems: Highly efficient in removing a broad spectrum of contaminants, including heavy metals and minerals.
- Distillation Systems: Boils and condenses water, leaving behind impurities.
- Ultraviolet (UV) Filters: Inactivate bacteria and viruses by using light.
Step-by-Step Guide to Water Filter Installation in Denver
1. Assess Your Water Source and Needs
The first step is determining the source of your water and identifying specific contamination concerns. Consider:
- Water Supply: Is it from a city supply, well, or other source?
- Contaminant Concerns: Do you have issues with hard water, chlorine taste, or specific minerals?
- Filter Type Requirements: Different filters cater to different impurities; choosing the right type is essential.
2. Choose the Right Water Filter
With various options available, selecting a filter that aligns with your needs and budget is vital. Consider these factors:
- Filtration Capacity: Check the gallons per minute (GPM) or liters per hour (L/h) to ensure it can handle your water flow rate.
- Contaminant Removal: Review what impurities the filter targets, ensuring it addresses your specific concerns.
- Maintenance and Cost: Consider ongoing expenses for replacement filters and maintenance.
- Installation Complexity: Some filters may require professional installation or complex set-ups.
3. Gather Necessary Tools and Equipment
Before beginning the installation process, ensure you have all the required tools:
- Pipe Wrenches: For tightening connections on pipes.
- Pliers: To grip and twist fittings securely.
- Measuring Tape: Accurately measure pipe sizes and distances.
- Gloves and Safety Glasses: Safety precautions are essential, especially when dealing with plumbing.
- Filter and Housing: Obtain the chosen water filter and its housing or container.
4. Turn Off the Water Supply
Safety should always be a priority during installation. Follow these steps to ensure a secure process:
- Locate the Main Shut-Off Valve: This valve controls the water supply to your entire house. Turning it off prevents leaks and ensures safety while working.
- Test the Valve: Open and close the shut-off valve to confirm proper operation.
- Use a Water Flow Indicator (Optional): This tool helps you detect any residual water in the pipes, ensuring a complete shutdown.
5. Prepare Your Water Lines
Prepare your plumbing system for the new filter:
- Access the Pipes: Identify where the filter will be installed and gain access to the necessary pipes.
- Clean Pipe Ends: Remove any debris or corrosion from the pipe ends where the filter will connect.
- Measure and Cut Pipes (if needed): Ensure the pipes can accommodate the filter housing and make cuts as required.
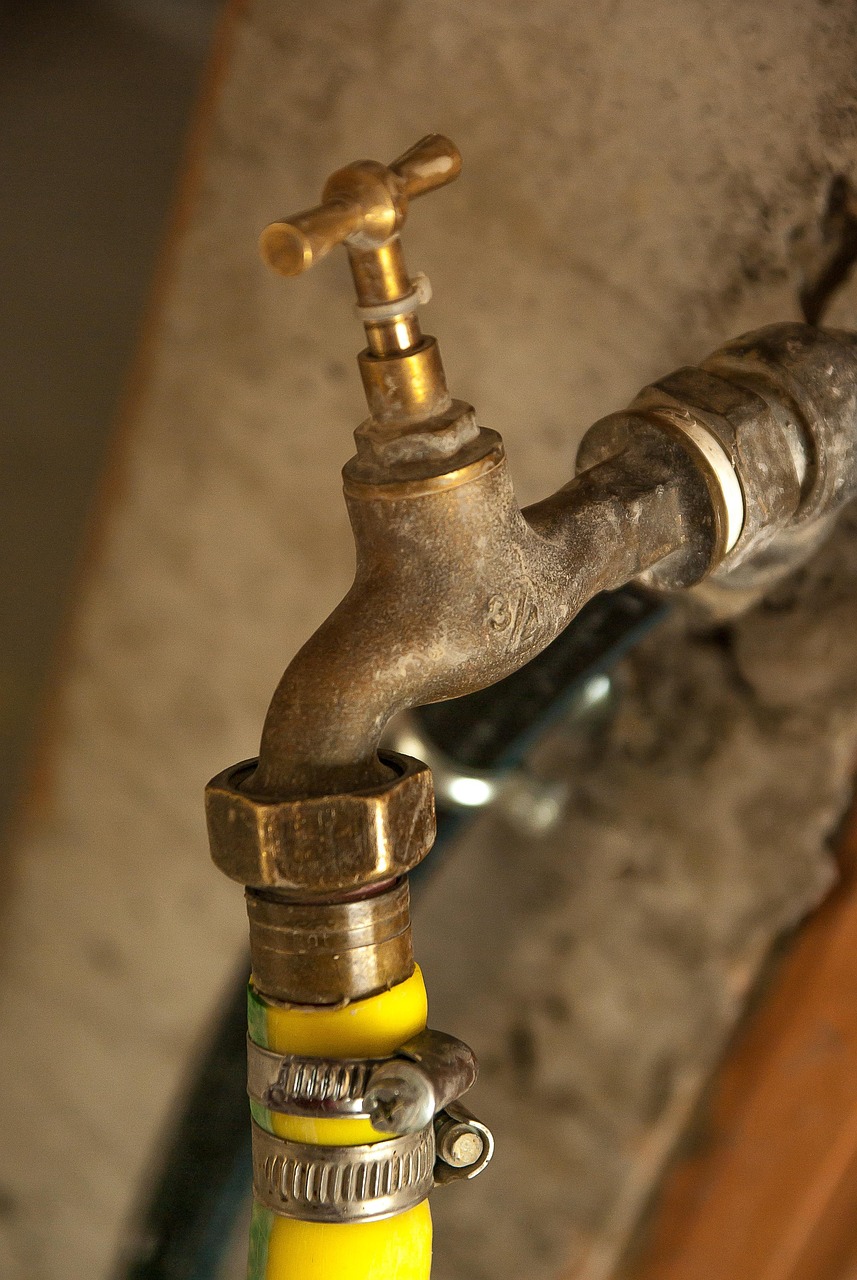
6. Install the Water Filter
Now, it’s time to bring your chosen water filter to life:
- Place the Filter Housing: Position the housing securely on the prepared pipe ends using clamps or brackets provided by the manufacturer.
- Connect Pipes: Attach the incoming and outgoing pipes to the housing, ensuring tight connections with pipe wrenches or pliers.
- Secure Fittings: Double-check all fittings for stability and security.
- Prime the Filter (if applicable): Some filters require priming to ensure proper water flow. Follow the manufacturer’s instructions for this step.
7. Test the Installation
Post-installation, thorough testing is crucial:
- Open the Shut-Off Valve: Reopen the main water supply valve slowly to fill the system with water.
- Check for Leaks: Inspect all connections for any signs of leaks.
- Flow Testing: Turn on a faucet and observe the water pressure and flow rate. Ensure it meets your expectations.
- Initial Use: Run a few gallons of water through the filter to flush out any residual contaminants from the installation process.
8. Regular Maintenance and Filter Replacement
Proper maintenance ensures your water filter continues to work effectively:
- Follow Manufacturer Guidelines: Different filters have specific maintenance routines, so consult the instructions.
- Schedule Regular Filter Changes: Carbon filters typically need replacement every 6-12 months, while RO systems may require more frequent changes.
- Clean Housing and Pipes: Periodically clean the filter housing and pipes to prevent buildup and ensure optimal performance.
Frequently Asked Questions (FAQs)
Q: Can I install a water filter myself or do I need a professional?
A: Many carbon and sediment filters can be installed by homeowners, but complex systems like RO or distillation may require professionals. Always follow manufacturer instructions, and if in doubt, consult an expert for safe installation.
Q: How often should I change my water filter?
A: Filter replacement frequency depends on the type and usage. Carbon filters usually need changing annually, while RO membranes can last 2-5 years with proper care.
Q: Will a water filter improve the taste of my water?
A: Absolutely! Filters remove contaminants that can affect taste, improving the overall quality of your drinking water.
Q: Can I use my existing plumbing for a new filter installation?
A: Most likely, yes, but an expert should assess your pipes and system to ensure compatibility with the new filter. In some cases, modifications might be required.
Q: Are there emergency water filter replacement services in Denver?
A: Yes, several professional water filtration companies in Denver offer emergency services for sudden contamination issues or filter failures. Contact local experts for prompt assistance.
Conclusion
Water filter installation Denver is a valuable investment in your family’s health and well-being. By following these steps and seeking expert advice when needed, you can ensure clean, safe drinking water. Remember to choose the right filter based on your specific requirements and maintain it regularly for optimal performance. With affordable water filter installation services readily available, there’s no better time to take control of your water quality.